Showing posts with label pie. Show all posts

Thursday, March 17, 2016

Banana Toffee Pie (Banoffee Pie)


Let me preface this by saying, I don't like bananas. I wasn't sure at all about this recipe, but I had extra bananas on my counter and thought I'd give it a try. (I also made chocolate banana pound cake and white chocolate banana ice cream with all those bananas. But anyway...)


But this pie was simply amazing. Really, really good. I highly encourage you to try it.

Ingredients: 

Crust:
3/4 C flour
6 T unsalted butter
2 T sugar
1/4 t salt
1/2 C macadamia nuts
1 large egg yolk
1 t vanilla extract

Filling:
2 14-oz. can sweetened condensed milk
1/2 C heavy whipping cream
1 T vanilla extract
4 bananas

Topping:
1 C chilled heavy whipping cream
1/4 C sugar

Directions:
Confession: I got a food processor for Christmas, and this was the first time I used it. I loved it!!! Combine flour, butter, sugar, and salt in the food processor. Pulse until mixture resembles coarse meal. Add nuts; pulse until finely chopped. Add egg yolk and vanilla. Pulse until moist crumbs form. 


Press dough along the bottom and up sides of a 9-inch pie plate. Freeze 30 minutes.


While the crust is in the freezer, start on the filling. Simmer sweetened condensed milk in heavy medium saucepan over medium heat. Stir frequently for about 25 minutes until thick and the color of peanut butter. (hint: the more you stir, the smoother it will be. But if you have lumps, don't worry about it. It will all taste good.)


Remove from heat and stir in whipping cream and vanilla.


It will be a mess! Thick and sticky like candy.


Pour the filling into the cooked crust, spreading evenly.
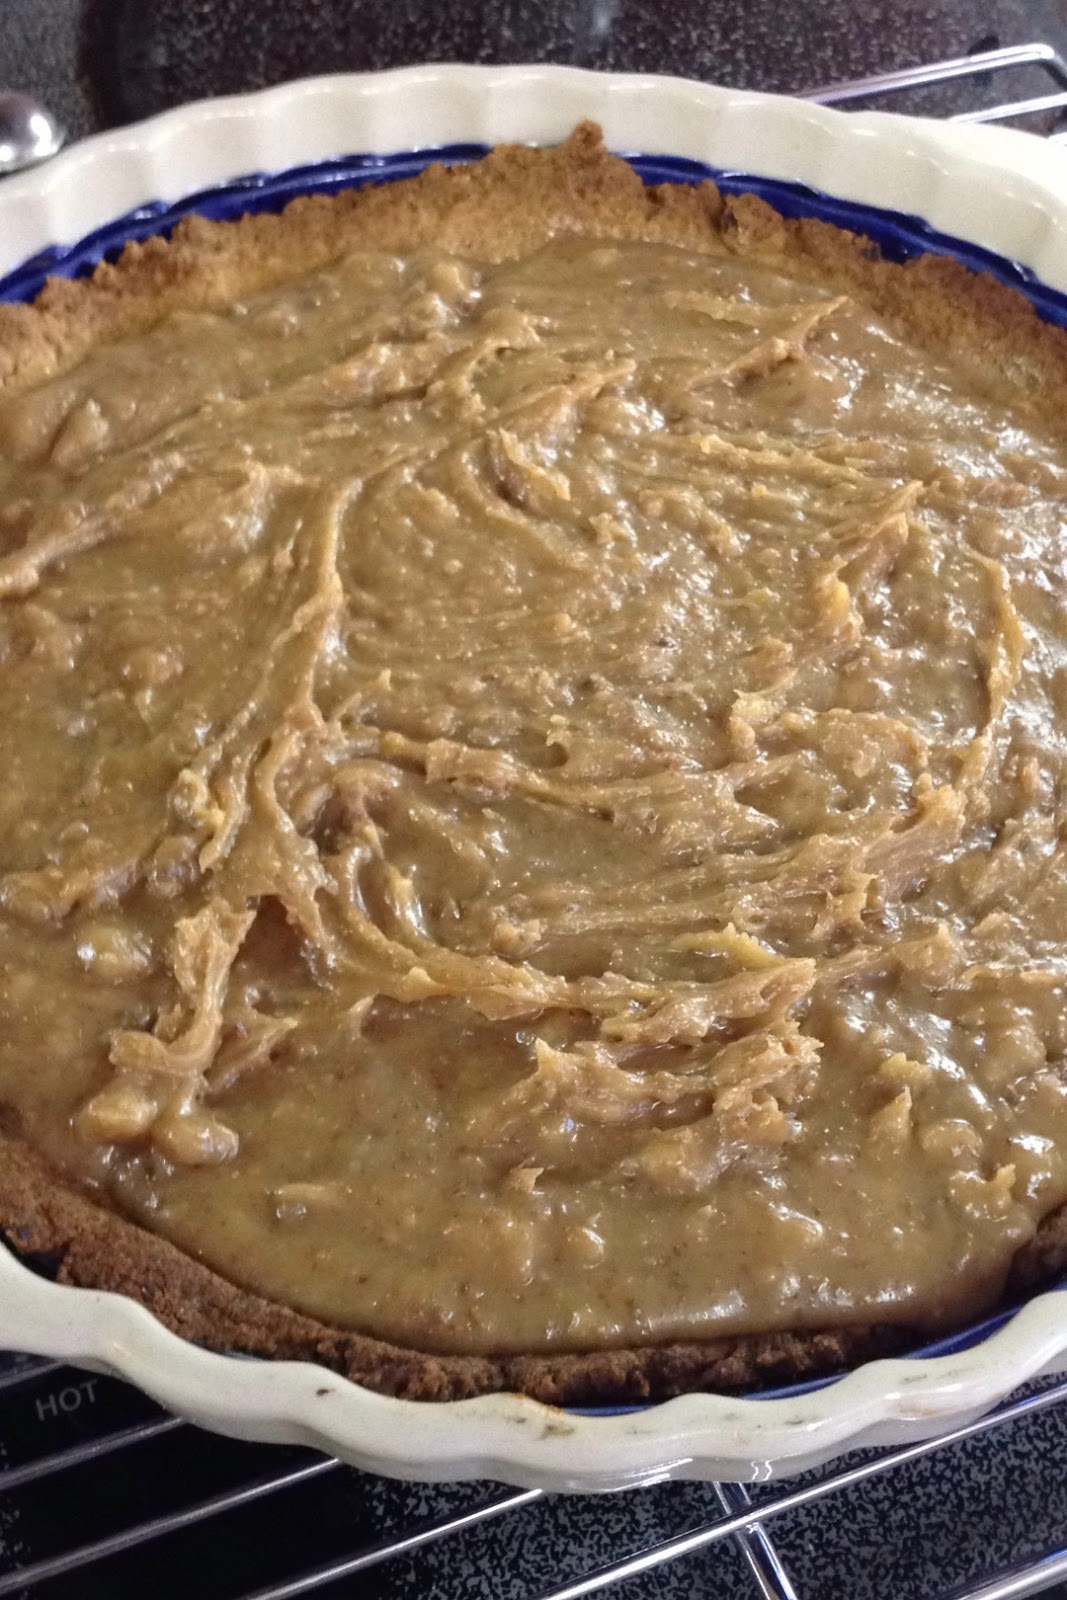

Cool completely. Slice the bananas and place them on top.


Cover the filling completely.


Whip up the cream and sugar for the topping. Pile on top in beautiful heaping clouds.


Serve whenever you want! Chill uncovered.


Yum!


  ,astef,
  ,amaa 


Thursday, November 19, 2015

Low-carb (and sugar-free!) Pumpkin Pie

As we are a week out from Thanksgiving this year, I feel like it's the perfect time to share this recipe: a low-carb, sugar free pumpkin pie!

This year I was asked to make pies for a wedding. It's not the first time I've catered for a wedding, or the first time I've made masses amounts of pie. It was, however, the first time I'd been asked to make sugar-free pies.

Before I committed to making sugar-free pies for the diabetic groom and his family, I had to make sure I could make them. So I set out experimenting and trying different recipes. Of all of them, the pumpkin pie was my favorite. I'm a huge fan of full fatness and full sugar in my desserts. But if you can't have that, or don't want that, this pie is an excellent substitute for the real thing.

Oh, one more note. I used a regular lard pie crust, as the engaged couple said they'd prefer that. Of course, that adds a lot of your carbs back in. So you can either not eat the crust, find a low-carb crust, or just not worry about it. :) The rest of the pie is good for you.


Ingredients:
2 C pumpkin puree (or one 15 oz. can)
2 eggs
3/4 C sucralose (such as Spenda)
1/2 t salt
1 t cinnamon
1/2 t ginger
1/4 ground cloves
1 1/2 C heavy cream
1 unbaked pie crust


Roll out the pie dough and line the pie plate. Crimp the edges.

I'm a huge fan of fresh pumpkin and use it exclusively in my pies. So here's instructions for that, if you're interested.

Cut your pie pumpkin in half. Scoop out the seeds. Place both halves in a microwaveable bowl, add about 1/4 C water, cover with plastic wrap, and microwave on high for about 15 minutes. Let it cool. The skin will peel right away from the pumpkin flesh, leaving you beautiful fresh pumpkin ready to be pureed.


Puree it. Don't just smash it or you'll have strings. I use an immersion blender (wonderful tool). A food processor would work too.


If desired, measure out two cups worth. Some pie pumpkins will yield exactly that; others a little less, others a little more. In my opinion, it doesn't have to be exact, just close. 

Now, beat in your eggs. You want to beat this so your eggs get fully blended and no one ends up with a chuck of egg white in their bite.


Add the spices.


And finally, your heavy cream.


Pour the pumpkin pie filling into the prepared crust and bake in a 425 degree F oven for 15 minutes. Then lower the heat to 350 and bake another 40-45 minutes.


A word of caution: You don't want to overbake a pumpkin pie. Or cool it down too quickly. Both of those things make your pie more prone to cracking as it cools. The pie will STILL JIGGLE IN THE MIDDLE when it's done. Turn your oven off, pop open the door, and let the pie finish cooling--and cooking--inside the oven.


Then, if you still get cracks, accept the fact that pumpkin pie is tricky that way. And keep whipping cream on hand to cover it up. Besides, a few cracks never hurt anything.


Since I do use fresh pumpkin and especially because there's no sugar (which acts as a preservative), I recommend refrigerating this pie. But wait until it has fully cooled.

Isn't it beautiful?

Tastefully,
Tamara 


Tuesday, October 27, 2015

Fresh Strawberry Pie with Strawberry Glaze

I am so happy to finally present to you my fresh strawberry pie! This one took a lot of trial and error pies (which my family happily ate). The first one involved way too much strawberry gelatin. Ew. It was like strawberry-studded jello in a pie crust.

Not to worry! This one is not that. And it's wonderful. So go grab some fresh strawberries and make this pie!


Ingredients:
One pie crust, prepared
1 C sugar
3 T cornstarch
1/2 T unflavored gelatin
2 lbs strawberries
1/2 C water
2 t lemon juice
1 C heavy cream


In a small bowl, separate out 1/2 C strawberries.


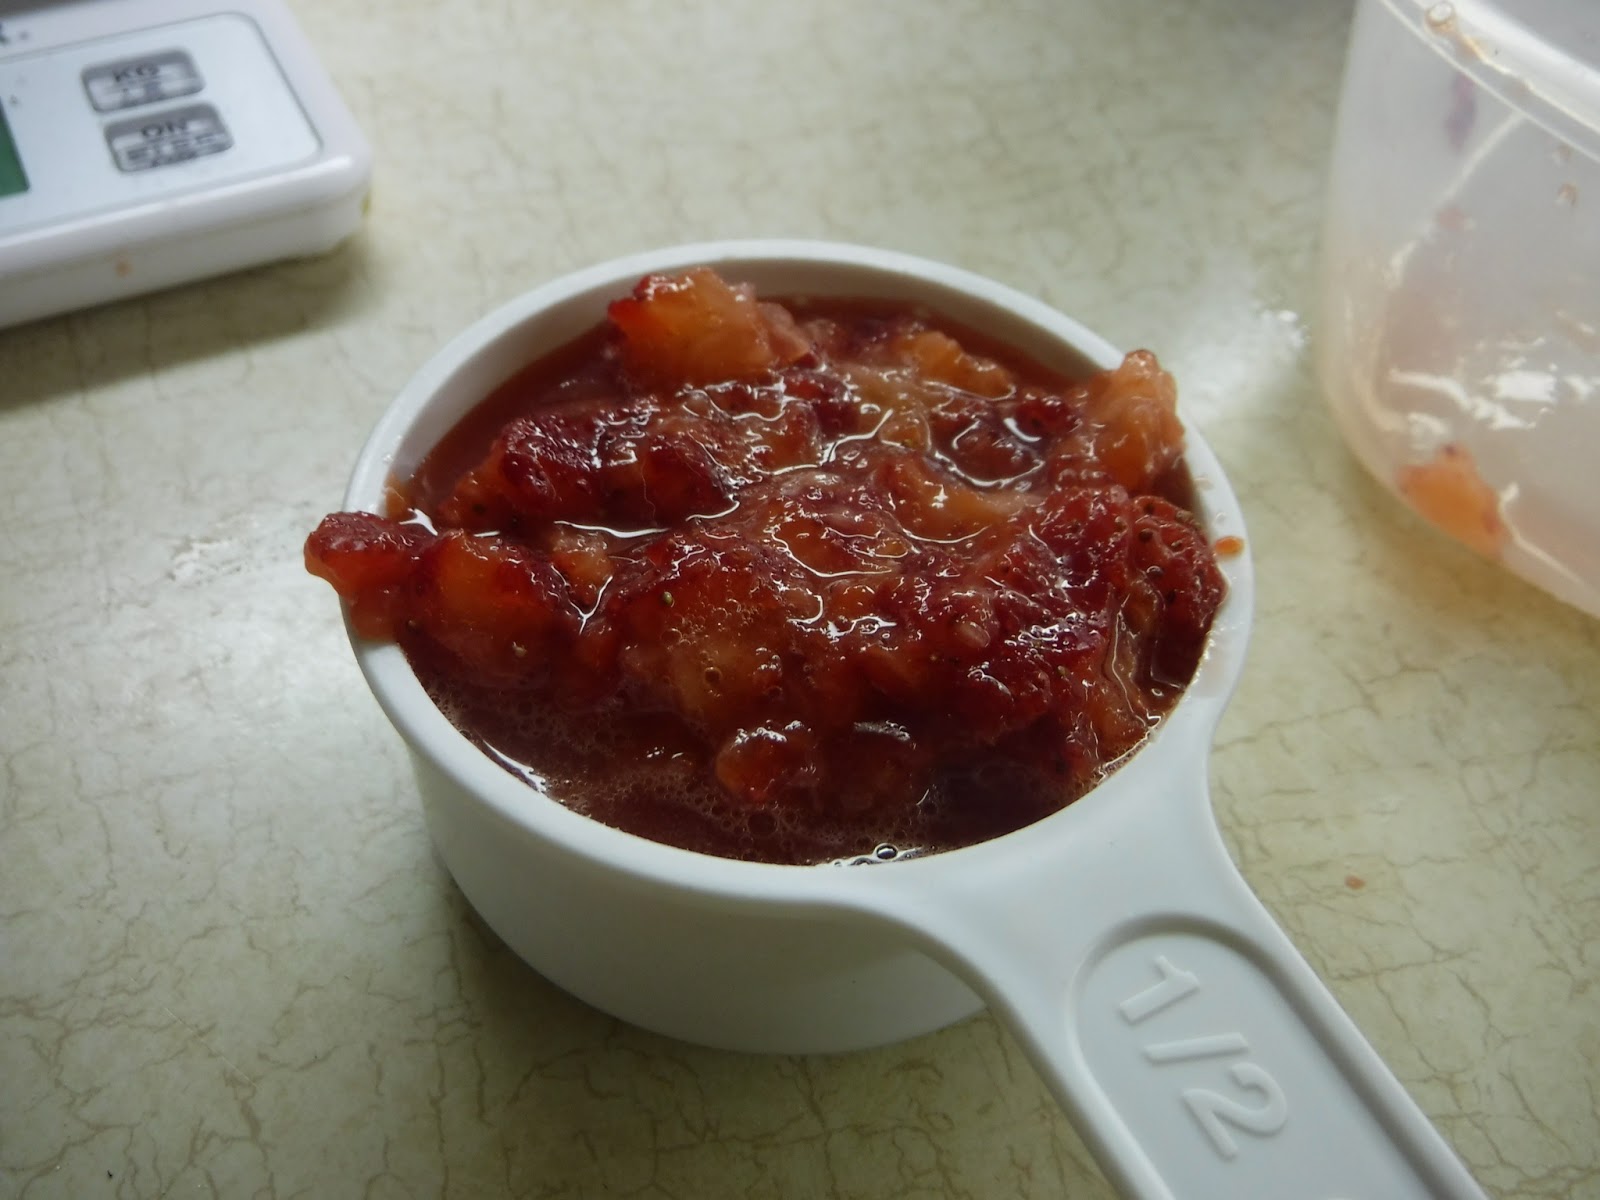
Mash them. 


In a saucepan, mix the sugar, cornstarch, crushed strawberries, unflavored gelatin, water, and lemon juice. Cook over medium heat 5-8 minutes until thickened. Set aside.


Spread two tablespoons of the strawberry glaze on the bottom of the prepared pie crust.


Halve the rest of the strawberries (quarter the big ones). Spread over the pie crust.


Admire the fresh strawberry goodness.


Pour the glaze over the strawberries.


Chill at least 4 hours.


Whip up the cup of heavy cream until stiff. Trust me on this: DON'T ADD SUGAR. The purity of the whipped cream adds the perfect finishing touch to the sweet berry pie. Try not to eat it all at once!!


Tastefully,
Tamara


Tuesday, October 13, 2015

Coconut Lime Pie

This is one of those pies that's just like, oh my goodness, so good! It's got a bit of a remembrance to a key lime pie, but the chewy, almost nutty coconut taste adds a depth of flavor that you won't believe!


Ingredients:
pastry for single pie crust
1 C granulated sugar
1/2 C packed brown sugar
2 T flour
5 eggs
1/3 C butter, melted
2 limes, juiced and zest
1/2 t vanilla
1 C coconut
1 C whipped cream

Roll out the pie dough for a 9" plate and carefully lay the dough in the plate. Trim the excess crust and crimp the edges as desired. Set aside.

Beat the sugars, flour, eggs, and butter in a bowl.


Measure out 2 teaspoons of lime zest and 2 tablespoons of juice. Add this and the vanilla to the mixture and beat well.


Sprinkle 3/4 C of the coconut over the prepared pie dough. 


Pour the filling over the coconut.


Beautiful, isn't it? Just wait.


Bake at 325 degrees F for 35-45 minutes. It will get nice and brown on top but should still jiggled when shook. Cool on a wire rack for 1 hour and then refrigerate for at least 3 hours (I just plan ahead and let it sit overnight).


Before serving, toast the remaining 1/4 C coconut by spreading on a baking sheet. Put in a 350 degree oven for 5-10 minutes, stirring occasionally and checking to make sure it doesn't burn. 


Should look about like this. If it does burn, start over! you don't want burned coconut on top.


Beat the 1 cup of whipped cream with an electric mixer until soft peaks form. Trust me here when I say you don't need sugar in this one. Just the cream.


Spread the cream in the middle of the cooled pie. You could go all the way to the edges if you wanted, but the filling underneath is so pretty. . . .


And finally, sprinkle the toasted coconut over the 


Wha-la! It is done! Serve and enjoy!


Tastefully,
Tamara 

Wednesday, September 2, 2015

Maple-Blueberry Pie

I think I've already mentioned how I'm not a big fan of blueberries. I feel like I should apologize for this, but really, I just don't think the fruit measures up to the hype. 

Unless they are freshly picked. And then I have to reserve enough to make this, my absolute favorite blueberry pie.

And the best part is, it's sugar free! Well, in a manner of speaking. There's no sugar, but it's sweetened with plenty of maple syrup. :)

I sell this pie out of my in-home bakery, so consider yourself very, very lucky that I'm sharing the recipe.


Ingredients:
2 pie crusts (I like a butter crust)
4 C blueberries (fresh or frozen will work; I pick mine fresh and then freeze them and they work just fine)
1 C maple syrup (important!! This is not pancake syrup! Try this and never look back!)
1/4 C flour
1/4 C quick-cooking tapioca
4 t fresh lemon juice

Combine the blueberries, syrup, flour, tapioca, and lemon in a bowl. Stir well (but gently). Let sit at least fifteen minutes to let the tapioca start to dissolve.

Roll out one pie crust and lay it over a 9-inch pie plate. You can trim the excess now, or leave it (like I did) until you put on the top crust, then trim together.

Pour the blueberry mixture into the pie plate (on top of the crust).


Admire that filling some more and imagine how wonderful it will taste cooked up.


Roll out your top crust. Place over the blueberries. Trip both crusts to about a 1-inch overhang. To get this look, pinch the two crust together and fold over the top of the pie. Crimp the edges using your index fingers and thumbs (this does take some practice).


Make a couple of slits for steam and juices to escape (this is what makes it pretty). Baste with cream or milk and sprinkle with sugar, if you desire.


Bake at 375 for 1 hour and 15 minutes. (Start checking at the 1 hour mark. You want to see filling bubbling out but you don't want your crust to burn.)


Cool on a wire rack to room temperature. I always make my pies a day before we plan to eat them. I think they taste better when they've sat. 


Slice and serve! Best blueberry pie ever. I promise.


Tastefully,
Tamara 

Recent Posts

Popular Posts

In my pursuit to getting a cookbook published, I'm trying to develop my credibility as a food writer, and not just an author.